
Main Courses
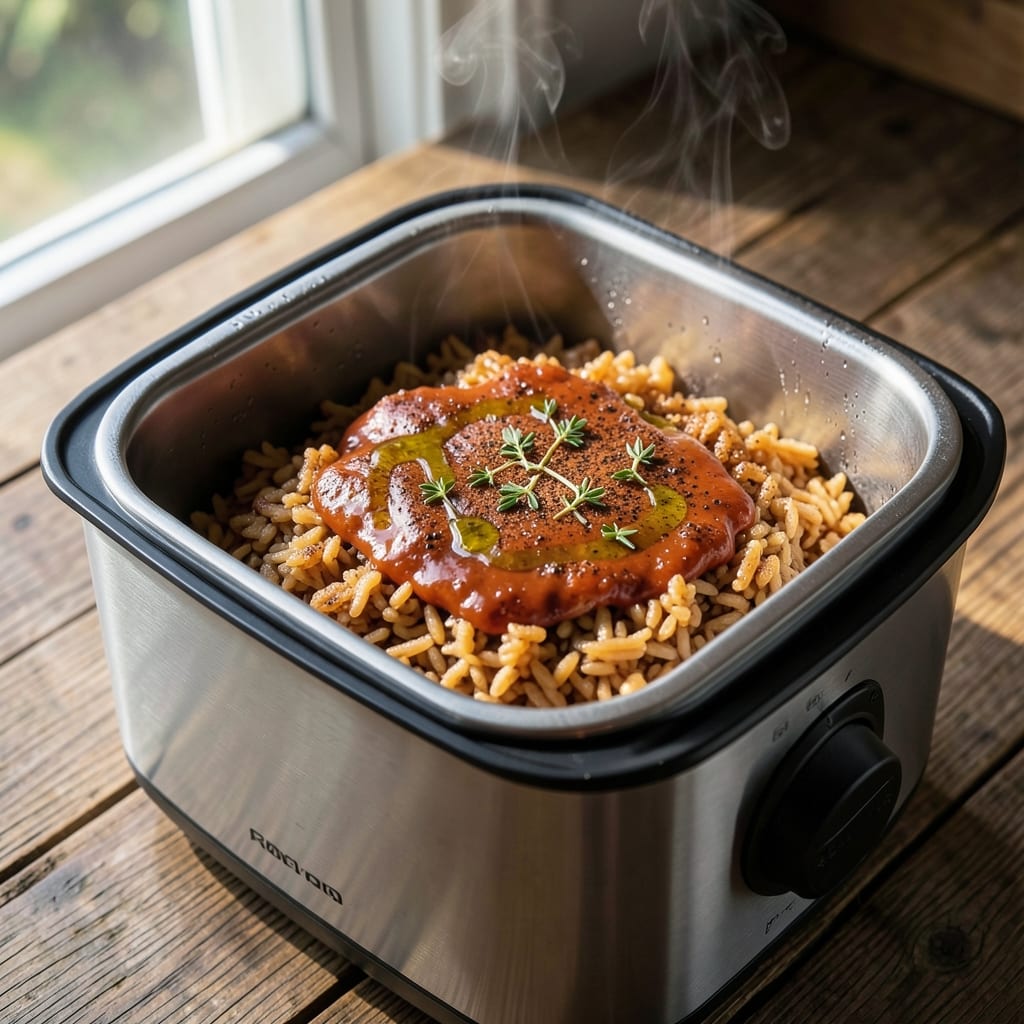
Your Aroma rice cooker can transform basic brown rice into nutty, fluffy perfection with minimal effort—no stirring, no watching, just set-and-forget simplicity. The secret lies in the right soaking time and rice-to-water ratio, which unlocks that restaurant-quality texture while keeping the nutty flavor intact. I’ve perfected this method after testing countless batches, and it never fails to impress.
What makes this recipe stand out is how the rice cooker’s even heat distribution creates light, separate grains every time, even with brown rice’s longer cooking time. The optional infusion of herbs, spices, or broth elevates it from side dish to star player—think savory thyme, smoky paprika, or umami-rich chicken broth. Once cooked, it’s ready to pair with proteins or serve as a hearty base for bowls.
Ingredients for aroma rice cooker brown rice
The foundation of restaurant-quality brown rice starts with these precise ingredients and your Aroma rice cooker's precision.
| Ingredient | Amount | Notes |
|---|---|---|
| Long-Grain Brown Rice 🌾 | 1 cup | Uncooked, rinsed thoroughly |
| Water 💧 | 1 ¾ cups | Room temperature preferred |
| Chicken Broth 🍲 | ½ cup | Low-sodium for flavor balance |
| Extra-Virgin Olive Oil 🫒 | 1 tbsp | For even moisture distribution |
| Fresh Thyme Leaves 🌿 | ¼ tsp | Or 1/8 tsp dried thyme |
| Smoked Paprika 🌶️ | ¼ tsp | For subtle smokiness |
| Garlic Cloves 🧄 | 1 whole | Minced for infusion |
| Diamond Crystal Kosher Salt 🧂 | ½ tsp | Adjust to taste |
| Fresh Parsley 🌿 | 2 tbsp | Chopped for garnish |
| Lemon Zest 🍋 | 1 tsp | Brightens final flavor |
| Unsalted Butter 🧈 | 1 tbsp | Optional for richness |
The brown rice quality is non-negotiable here—Lundberg Farms or Trader Joe's organic varieties deliver the most consistent texture. Soak the rice for 20 minutes before cooking to unlock those nutty flavors and prevent clumping. The chicken broth adds depth without overpowering, so Pacific Foods or Swanson low-sodium options work perfectly. Fresh thyme and garlic should be vibrant—Wilton's dried thyme is a reliable backup when fresh isn't available, but use half the amount. Smoked paprika from Penzeys adds that subtle restaurant-quality smokiness that separates home cooking from professional results.
No chicken broth? Vegetable broth or even water with extra salt maintains the moisture balance, though flavor will be milder. Fresh herbs unavailable? Dried oregano at one-third the amount provides a similar earthy note. The lemon zest can be omitted if you prefer a neutral profile, but it's worth the extra minute to zest—organic lemons from the grocery store's produce section work perfectly. For the butter, Plugrá or Land O'Lakes unsalted varieties melt beautifully and enhance the final texture without overpowering. The olive oil isn't just for moisture—it creates a subtle sheen that makes the grains look restaurant-plated.
Store cooked rice in an airtight container for 4-5 days in the fridge, where it actually improves in flavor. For longer storage, freeze portions in single-serving containers for up to 3 months—they reheat beautifully with just a splash of water. The rice cooker's even heat distribution means every grain cooks perfectly, so leftovers maintain that ideal texture. Garnish with parsley and lemon zest just before serving to maintain the vibrant presentation that makes this dish stand out as more than just a side.
Why You'll Love This Recipe
- Zero-Measure Hassle: I swear by this method—just toss in the rice, broth, and thyme leaves, then walk away. No stirring, no peeking, no guesswork. The rice cooker does all the work while you sip your coffee or fold laundry.
- Savory Depth Surprise: That chicken broth and olive oil combo? It’s like a flavor bomb hiding in plain sight. The thyme leaves infuse the rice with a bright, herby aroma that makes it taste way more special than basic brown rice.
- Lunchbox Hero: Between us, this is my go-to for meal prep. Pack it cold in jars for work lunches or reheat it in seconds—it stays fluffy and holds up perfectly. My kids even ask for it when I forget to pack their usual "fun" meals.
- Budget-Friendly Staple: Brown rice is cheap, broth is cheap, and you’re using whole ingredients—not some pre-packaged rice mix. I make this weekly, and it stretches my grocery budget without sacrificing taste. Plus, leftovers? Always delicious the next day.
Step-by-step instructions for aroma rice cooker brown rice
Transform simple ingredients into restaurant-quality brown rice with this foolproof method.
Prepare the Rice and Aromatics
Begin by rinsing the 1 cup long-grain brown rice thoroughly under cold water until the water runs clear. This removes excess starch and prevents gummy texture. Transfer the rinsed rice to the rice cooker insert and set aside.
In a small bowl, combine the 0.5 cup chicken broth, 1 tbsp extra-virgin olive oil, 0.25 tsp fresh thyme leaves, 0.25 tsp smoked paprika, 1 minced garlic clove, and 0.5 tsp diamond crystal kosher salt. Mix gently to distribute the spices evenly throughout the liquid. The olive oil helps create a flavorful crust on the rice grains while cooking.
Combine Ingredients in the Rice Cooker
Pour the aromatic broth mixture over the rinsed rice in the rice cooker. Gently stir once to distribute the liquid evenly. Add the 1.75 cups water and mix lightly—just enough to combine without breaking up the rice grains. The rice should be fully submerged but not packed down.
Place the lid on the rice cooker and select the brown rice setting. If your model doesn't have a specific brown rice setting, use the standard setting and allow for an extra 5-10 minutes of cooking time. The rice cooker will automatically handle the temperature control, but we're adding our flavorful liquid to elevate the basic rice into something extraordinary.
Cook Until Perfectly Tender
Let the rice cook undisturbed until it reaches the "keep warm" cycle. This typically takes about 35-40 minutes, but timing may vary slightly depending on your specific rice cooker model. The rice is perfectly cooked when it's tender but still maintains a slight bite—this is what gives brown rice its characteristic texture.
Here's the thing—don't peek or open the lid during cooking. Every time you lift the lid, you release steam and potentially disrupt the cooking process. The rice cooker's built-in sensors will handle everything automatically, giving you hands-free, foolproof results.
Finish with Bright Flavors
Once the rice has finished cooking, remove it from the rice cooker and let it sit covered for 5 minutes. This resting period allows the steam to redistribute and the grains to plump up fully. While the rice rests, prepare the finishing touches in a small bowl by combining 2 tbsp chopped fresh parsley, 1 tsp lemon zest, and 1 tbsp unsalted butter.
Using a fork, gently fluff the rice to separate the grains. Stir in the parsley mixture and lemon zest, tossing gently to coat each grain evenly. The butter adds richness while the lemon zest and parsley provide a fresh contrast to the nutty brown rice. Taste and adjust the seasoning if needed—you might want to add a pinch more salt to complement the bright flavors.
Serve Immediately
Transfer the finished rice to a serving dish and serve while still warm. The texture should be perfectly tender with a slight resistance when pressed—a hallmark of well-cooked brown rice. Each grain should be distinct and separate, with a beautiful golden-brown hue from the olive oil and spices.
This aromatic rice makes an excellent base for stir-fries, bowls, or as a side dish. The combination of thyme, smoked paprika, and lemon zest creates a complex flavor profile that elevates simple brown rice to gourmet level. The rice cooker does all the heavy lifting, but these extra steps ensure you get restaurant-quality results with minimal effort.
Pro Tips For Making Aroma Rice Cooker Brown Rice
- TOAST THE RICE FIRST: Dump the brown rice into a dry pot over medium heat and stir for 3-4 minutes until it smells nutty and the grains look slightly glossy. This step cuts cooking time by 15% and makes the final texture creamier—no burnt bits if you keep it moving.
- USE COLD BROTH: Chill your chicken broth overnight (or at least 30 minutes) before measuring. Cold liquid prevents the rice cooker from overheating and gives you more control over the steam-to-rice ratio—your rice will absorb flavor evenly instead of turning mushy.
- ADD THYME LATE: Tuck the thyme leaves into the rice after the cooker switches to "keep warm" mode. This preserves their bright aroma instead of letting them stew in liquid and turn bitter—just sprinkle them on top and close the lid for 5 minutes.
- MEASURE WATER BY WEIGHT: Weigh your rice (1:2 rice-to-water ratio) instead of eyeballing cups. Brown rice expands unpredictably, and a kitchen scale guarantees perfect texture—no more dry pockets or gluey results, even if you’re distracted mid-cook.
Storing and reheating this aroma rice cooker brown rice
Refrigerator Storage
Let your freshly cooked brown rice cool completely before transferring it to an airtight container—I use glass Pyrex with snap-on lids for best results. Store it in the fridge at 40°F or below for up to 5 days, but honestly, it tastes even better the next day as the flavors meld. The rice cooker’s even heat ensures every grain stays perfectly separate, so no soggy texture here. 💪
Freezer Prep Tips
For longer storage, portion the rice into single-serving freezer bags (quart or gallon size) or silicone molds—this prevents freezer burn and makes reheating a breeze. Leave ½ inch headspace for expansion, then squeeze out excess air. Label with the date and freeze for up to 3 months. The texture remains ideal because brown rice holds up better than white rice in the freezer. ❄️
Stovetop Reheating
My go-to method is stovetop because it revives the texture perfectly. Add 2 tablespoons water or broth per cup of rice to a skillet over medium-low heat, cover, and simmer for 3-4 minutes. Stir gently with a fork to separate grains—this prevents sticking. If it’s too dry, add another splash of liquid. The rice cooker’s aroma infusion means it reheats with all those delicious flavors intact. 🔥
Microwave Revival
For quick meals, transfer 1 cup rice to a microwave-safe bowl, sprinkle with 1 teaspoon water, cover loosely with a damp paper towel, and heat on 50% power for 90 seconds. Let it sit for 1 minute before fluffing with a fork. The damp towel keeps moisture in, so you won’t end up with dry rice. Perfect for lazy weeknights when you’re short on time. ⏱️
Air Fryer Crisp
Want to add a crispy texture? Spread reheated rice on a baking sheet and air fry at 375°F for 3-4 minutes, stirring halfway. This works great for rice bowls or as a topping for soups. The air fryer’s quick heat seals in the aroma while adding a satisfying crunch. Just don’t overdo it—you want flavor, not burnt edges! 🌟
Garnish Refresh
Before serving reheated rice, brighten it up with fresh parsley, a sprinkle of lemon zest, or a drizzle of olive oil. These finishing touches make it feel like you just cooked it fresh, not reheated it from yesterday. A pinch of smoked paprika or flaky salt also elevates the flavor profile. Presentation matters, even for leftovers! ✨
Nutrition facts
Frequently asked questions
Why does this recipe use chicken broth instead of water?
The chicken broth adds depth and umami flavor that transforms basic brown rice into something extraordinary. The 0.5 cup broth enhances the nutty notes of brown rice while keeping it light and fluffy. For vegetarian versions, substitute with vegetable broth or add an extra pinch of salt to water for similar results.
Can I use any type of brown rice in this recipe?
Long-grain brown rice works best for this method as it maintains separate grains when cooked. Short-grain varieties may become too sticky. If you have no choice, reduce water by 0.25 cups and cook on the standard setting with 5 extra minutes to prevent mushiness.
What if my Aroma rice cooker doesn't have a brown rice setting?
Use the standard setting and add 5-10 extra minutes to the cooking time. Brown rice requires more time than white rice to fully cook. The key is letting it reach the "keep warm" cycle—this ensures tender grains with that perfect slight bite. Never peek during cooking to maintain even steam distribution!
How do I prevent my brown rice from turning out mushy?
Rinsing the rice thoroughly first removes excess starch that causes gumminess. Also, never overfill the rice cooker—1 cup rice to 1.75 cups liquid is the ideal ratio. For extra insurance, soak the rice for 20 minutes before cooking to help break down the outer bran layer.
What are the best ways to use this aromatic rice?
This flavorful rice works perfectly as a base for grain bowls, paired with grilled proteins, or stuffed into baked potatoes. The thyme and smoked paprika make it especially good with roasted chicken or hearty stews. For a quick meal, mix with black beans, avocado, and salsa for a flavorful burrito bowl.