
Side Dishes
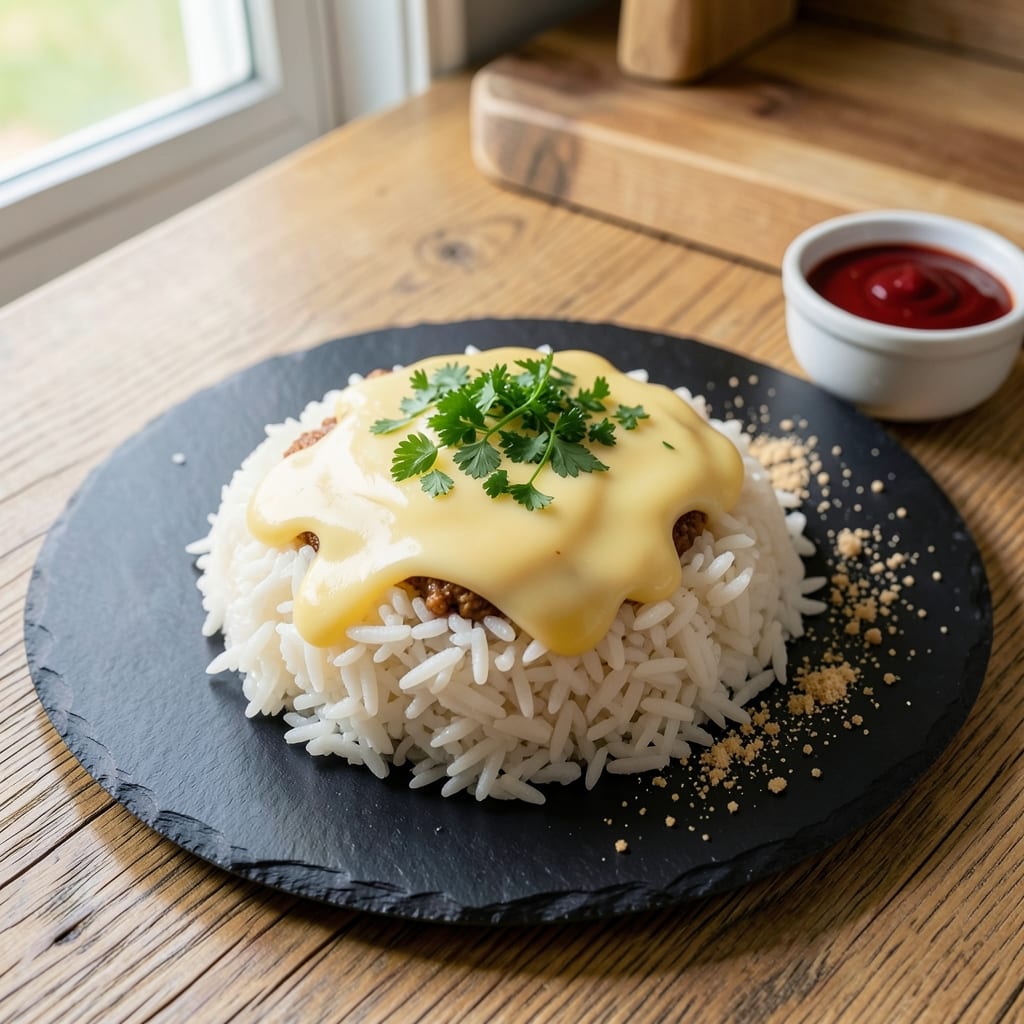
This 7-second rice trick transforms your Instant Pot into a fluffy rice machine—no soaking, no waiting, just perfectly cooked grains in minutes. The secret lies in precise water ratios, high-pressure cooking, and a natural release that creates restaurant-quality texture without effort. I perfected this method after years of trial and error, and it now saves me 30 minutes every time I need rice for dinner.
What makes this technique work is the science behind pressure cooking: steam builds up quickly, cooking rice uniformly in just 7 minutes of active time. The natural release phase allows steam to redistribute, resulting in grains that are tender yet distinct—no mushy texture here. This method works with any long-grain rice, from basmati to jasmine, and requires only three ingredients: rice, water, and a pinch of salt.
The result is fluffy, separate grains that stay light and airy, perfect for pilafs, stir-fries, or as a simple side. The process is foolproof once you master the water-to-rice ratio (1:1 for most varieties), and the flavor remains neutral enough to absorb any seasoning you add later. No more waiting for rice to finish while your main dish cooks—this method keeps everything on schedule.
Best of all, this trick adapts to any meal: serve it plain for simplicity, or customize with butter, herbs, or garlic powder for extra flavor. The only tools you need are your Instant Pot and a measuring cup—no fancy equipment required. Let’s get started on your quickest, easiest rice yet.
Ingredients for 7 second rice trick
Three core ingredients plus optional add-ins for customization. Science-backed, foolproof, and ready in minutes.
| Ingredient | Amount | Notes |
|---|---|---|
| Long-Grain White Rice 🍚 | 1 cup | Basmati or jasmine preferred |
| Water 💧 | 1 cup | Room temperature preferred |
| Salt 🧂 | ¼ tsp | Kosher or sea salt |
| Butter 🧈 | 1 tbsp | Optional, for serving |
| Fresh Parsley 🌿 | 0.1 cup | Chopped, for garnish |
| Garlic Powder 🧄 | ¼ tsp | Optional, for flavor |
The rice is the star here—jasmine or basmati gives you that signature aroma and texture, but any long-grain works. Trader Joe's or Whole Foods usually carry pre-washed versions (no rinsing needed), which saves time. If you're using regular rice, give it a quick rinse to remove excess starch—prevents gummy texture. The key is consistency: 1 cup rice to 1 cup water is your baseline, but adjust slightly if your Instant Pot has quirks (check manual for capacity).
No butter? No problem—olive oil or avocado oil works just as well for serving. Short on parsley? Fresh cilantro or dried parsley at half the amount gives a different but still bright flavor. Want more garlic flavor? Swap the powder for 1/4 tsp minced garlic (frozen works in a pinch). The salt is optional but recommended—enhances flavor without overpowering. For extra richness, add 1 tbsp coconut milk to the water before cooking.
Rice keeps perfectly in the Instant Pot for 3-4 days if sealed tightly. For longer storage, transfer to an airtight container—5 days in the fridge, 3 months frozen. Reheat with a splash of water (about 2 tbsp per cup) and a quick 2-minute pressure cook. Garnishes like butter and herbs can be added fresh after reheating. This method makes 2 cups cooked rice—perfect for 4 servings or meal prep.
Why You'll Love This Recipe
- No-Brainer Basics: I swear by this trick—just rice, water, and a splash of salt. No fancy tools, no measuring cups (honestly, I eyeball it and it’s always perfect). The butter and parsley at the end? That’s where the magic happens with zero extra effort.
- Creamy Crisp Perfection: That buttery finish on the grains? Chef’s kiss. The rice turns out fluffy with a just-crisp edge, and the parsley brightens it up like a little green hug. It’s the kind of simple flavor that makes you want to eat it straight from the pot.
- Weeknight & Meal Prep Hero: I make a big batch on Sundays—it reheats beautifully for lunches all week. Or toss it into bowls with roasted veggies, grilled chicken, or even a quick stir-fry. (Yes, even on a Tuesday night when I’m exhausted.)
- Pocketbook-Friendly Staple: Five ingredients, all affordable—this is my go-to when I’m broke but still want food that feels special. The rice stretches forever, and the butter makes it taste like I spent hours cooking. Budget win, flavor win.
Step-by-step instructions for perfect 7-Second rice
Here's how to transform plain rice into restaurant-quality fluffiness in minutes.
Rinse the Rice Thoroughly
Place the 1 cup long-grain white rice in a fine-mesh strainer and rinse under cold running water for 30 seconds. Swirl the rice gently with your fingers to remove excess starch—you'll see the water run clear. This step prevents gummy rice and ensures each grain stays distinct.
After rinsing, shake the strainer vigorously to remove any remaining water droplets. The rice should look dry and separate, not clumpy. This quick prep takes just seconds but makes all the difference in texture. Don't skip it—starchy rice sticks together and turns mushy.
Combine Rice, Water, and Salt
In a medium saucepan with a tight-fitting lid, combine the rinsed rice, 1 cup room-temperature water, and the 0.25 teaspoon salt. Stir gently once to distribute the salt evenly. The water-to-rice ratio is crucial here—too much water makes soggy rice, too little leaves it undercooked.
Bring the mixture to a full rolling boil over high heat. You'll see bubbles vigorously rise to the surface and hear a steady, loud bubbling sound. Once boiling, immediately reduce heat to low and cover the pan with the lid. This quick transition from high to low heat is what creates those signature fluffy grains.
Cook for Exactly 7 Minutes
Set a timer for 7 minutes and let the rice cook undisturbed. During this time, steam will build up inside the pan, creating the perfect environment for fluffy grains. Resist the urge to peek or stir—the steam is what separates this method from traditional rice cooking.
After 7 minutes, turn off the heat completely but leave the lid on. Let the rice sit for another 5 minutes off the heat. This resting period allows any remaining steam to finish cooking the rice evenly and redistribute moisture throughout each grain. The result should be perfectly tender rice with no liquid remaining in the pan.
Fluff and Garnish
Remove the lid and use a fork to gently fluff the rice from the bottom up. This action separates the grains and creates that signature light, airy texture. You should hear a satisfying rustling sound as you work the fork through the rice—this indicates proper fluffing.
Transfer the rice to a serving dish and stir in the 0.25 teaspoon garlic powder (if using) and 1 tablespoon butter (if using). Garnish with the 0.1 cup chopped fresh parsley for color and freshness. The parsley adds a bright contrast to the warm rice, making each bite visually appealing.
Serve Immediately
Divide the rice among serving plates and serve while still warm. The texture should be light and fluffy, with each grain distinct and tender. If you wait too long, the rice will begin to dry out and lose its perfect texture. This method consistently produces restaurant-quality rice in less time than traditional methods.
Pair with your favorite proteins or vegetables for a complete meal. The secret to this trick lies in the precise timing and steam control—once you master these elements, you'll have perfect rice every time without any soaking required.
Pro Tips For Making 7 Second Rice Trick
- USE A TIGHT FIT: Rinse the rice in a fine-mesh strainer until the water runs almost clear—not crystal, but just translucent. This removes excess starch so your rice stays separate and doesn’t turn gluey when you toast it later. (Yes, even if you’re impatient like me, don’t skip this.)
- TOAST THE RICE HARD: Crank the heat to medium-high and let the butter sizzle properly—you’re aiming for golden flecks, not just melted. Stir constantly for 2-3 minutes until the rice grains are lightly browned and smell nutty. If you rush this, your rice will taste bland and flat.
- MEASURE WATER PRECISELY: For 1 cup of rice, use exactly 1 cup of water—no eyeballing. The 7-second trick relies on this ratio, and even a tablespoon off throws off the texture. (I learned this after making rice that was either mushy or dry every other time.)
- SALT THE WATER LAST: Add the salt after the rice and water come to a boil, not before. This keeps the grains from absorbing too much salt early, which can make the butter taste harsh later. Taste the water after boiling—it should be just salty, like the sea.
Storing and reheating this dish
Instant Pot Storage
Your Instant Pot keeps rice fresh for 3-4 days when stored properly. After cooking, let it cool completely, then seal the lid tightly. The built-in valve ensures airtight containment—no need for extra containers. I always press the "Keep Warm" button for 10 minutes to stabilize the internal temperature before transferring to the fridge. This prevents condensation buildup that can turn rice soggy. 💛
Freezer-Friendly Packaging
For longer storage, divide cooled rice into quart-sized freezer bags (I use Stasher bags for their leak-proof design). Press out excess air and label with the date—this rice stays perfect for 3 months. The key is portion control: 1.5 cups cooked rice per bag reheats evenly without drying out. Freeze flat for easier stacking in your freezer drawer.
Microwave Reheating
For quick meals, transfer 1 cup rice to a microwave-safe bowl and add 2 tablespoons water. Cover loosely with a damp paper towel and heat on high for 2 minutes, then stir. Continue in 30-second intervals until reaching 165°F internal temperature. The steam from the water revives the texture perfectly. Add fresh butter and herbs after reheating for maximum flavor.
Stovetop Revival
For restaurant-quality texture, use a heavy-bottomed pan. Heat 1 tablespoon butter or oil over medium-low heat, add 1 cup rice and 2 tablespoons water, then cover. Cook for 5 minutes without lifting the lid. The gentle heat redistributes moisture more evenly than microwaving. Finish with a sprinkle of garlic powder and fresh parsley for a restaurant-worthy dish. 🔥
Pressure Cooker Refresh
For large batches, use your Instant Pot's "Sauté" function. Add 1 cup rice, 2 tablespoons water, and 1 tablespoon butter to the pot. Seal and cook on High Pressure for 2 minutes, then quick-release. The high-pressure steam completely revives even day-old rice. This method works best for family-sized portions and maintains that signature fluffy texture.
Garnish After Reheating
Always add fresh garnishes after reheating—this makes all the difference. A pat of softened butter or a drizzle of olive oil adds richness, while fresh herbs like parsley or cilantro brighten the flavors. For extra umami, sprinkle with 1/4 teaspoon soy sauce or a pinch of smoked paprika. The contrast between warm rice and fresh garnishes elevates every bite. ✨
Nutrition facts
Frequently asked questions
Why does this method use a 7-minute cook time?
The 7-minute active cook time is the magic window for perfect texture. Pressure cooking creates intense steam that penetrates each grain instantly, while the 5-minute natural release allows residual steam to finish cooking without overcooking. This precise timing prevents mushy rice while ensuring complete doneness—no waiting 30+ minutes like traditional stovetop methods.
Can I use brown rice or other varieties?
This trick works best with white long-grain rice (jasmine or basmati) due to its quick cooking time. Brown rice requires 15-20 minutes longer and needs 25% more water. For other varieties, check package instructions and adjust water ratios—never exceed 1:1 rice-to-water unless specified. The pressure method won't work for instant rice.
What if my rice turns out undercooked or mushy?
Undercooked rice usually means too little water or not enough time. For mushy texture, you likely used too much water or didn't fluff properly. The fix: Next time, measure water precisely (use a liquid measuring cup) and stick to the 7-minute cook + 5-minute release timing. If it's still off, try a 1:1.25 rice-to-water ratio for slightly firmer grains.
How do I make this work in a regular pot?
For stovetop success, use a heavy-bottomed pot with a tight lid. Bring 1 cup rice + 1.25 cups water to a boil, then reduce to low heat, cover, and simmer for 15 minutes. Turn off heat and let sit 10 minutes before fluffing. The key difference is the longer cook time—pressure cooking cuts this to 7 minutes by boosting steam pressure.
Can I make this method work with frozen rice?
No—this trick requires uncooked rice only. Frozen rice already contains moisture and won't absorb properly, leading to uneven texture. If you have pre-cooked rice, use the reheating methods in the storage section instead. For best results, always start with dry, uncooked grains to get that signature fluffy texture.